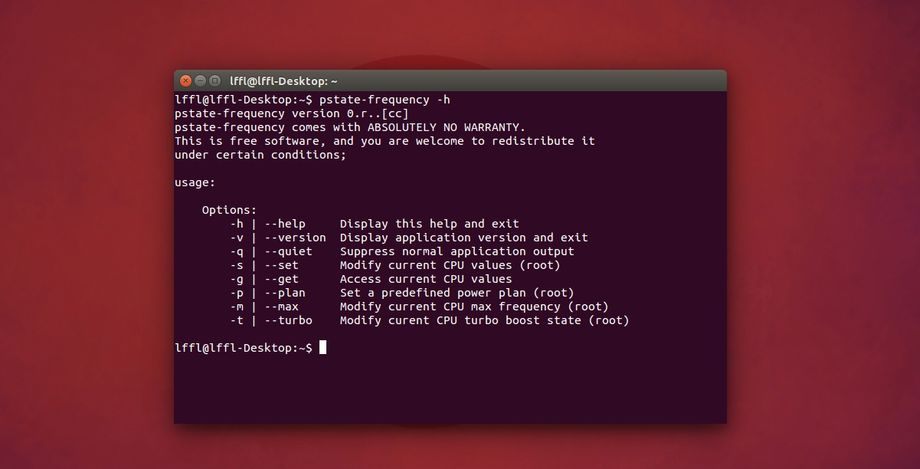
Esempio possiamo aumentare l’autonomia del nostro pc portatile diminuendo la frequenza massima del nostro processore (logicamente andremo anche a diminuirne le performance), possiamo operare anche nella modalità “Turbo Boost” attivandola o disattivandola o diminuendone la frequenza massima.
Installare pstate-frequency in Ubuntu e derivate è abbastanza semplice, per prima cosa installiamo alcune dipendenze indispensabili per la compilazione del tool, digitando da terminale:
sudo apt-get install build-essential unzip
una volta installato scarichiamo e compiliamo pstate-frequency digitando da terminale:
cd /tmp
wget https://github.com/pyamsoft/pstate-frequency/archive/master.zip
unzip master.zip
cd pstate-frequency-master/
make
sudo make install
una volta installato pstate-frequency basta riavviare la distribuzione.
Al riavvio potremo operare da pstate-frequency da terminale digitando pstate-frequency -s seguito da:
-m –max Adjust the maximum scaling frequency of the CPU
-n –min Adjust the minimum scaling frequency of the CPU
-t –turbo Adjust the current state of Turbo Boost
-p –plan Adjust the maximum scaling and Turbo Boost to a preset plan.
con -p possiamo attivare uno dei tre presets che sono:
1. powersave Sets the minimum and maximum scaling frequencies to the lowest available and disables Turbo Boost.
2. performance Sets the minimum scaling frequency to the lowest available, the maximum scaling frequency to the highest available non-turbo frequency and disables Turbo Boost.
3. max-performance Sets the minimum and maximum scaling frequencies to the highest available frequency taking into account Turbo Boost frequencies, and enables Turbo Boost.
pstate-frequency è disponibile anche per Arch Linux e derivate attraverso AUR.


